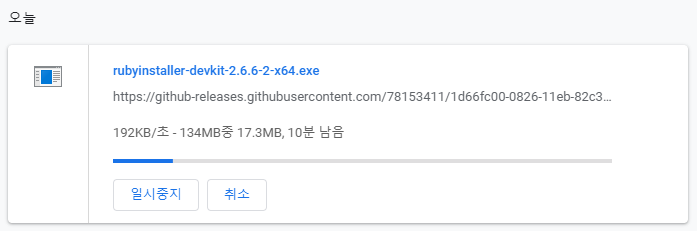
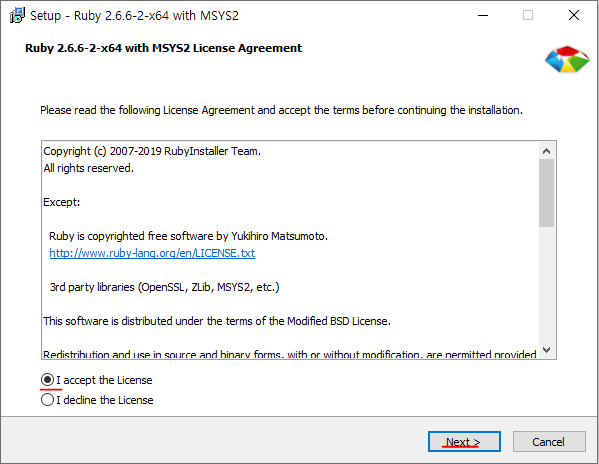
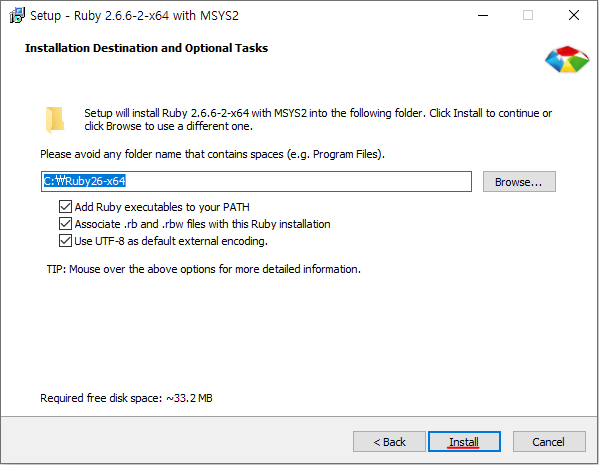
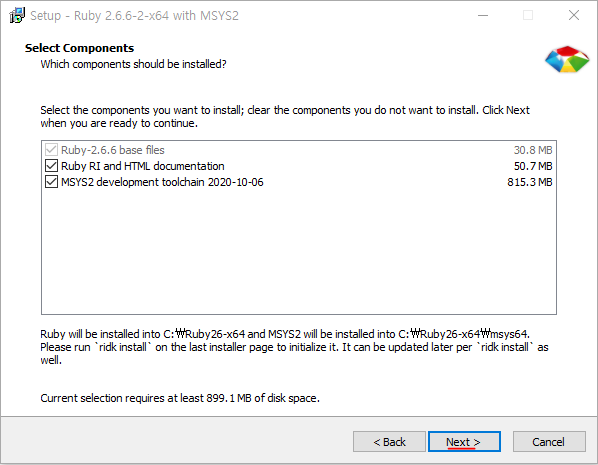
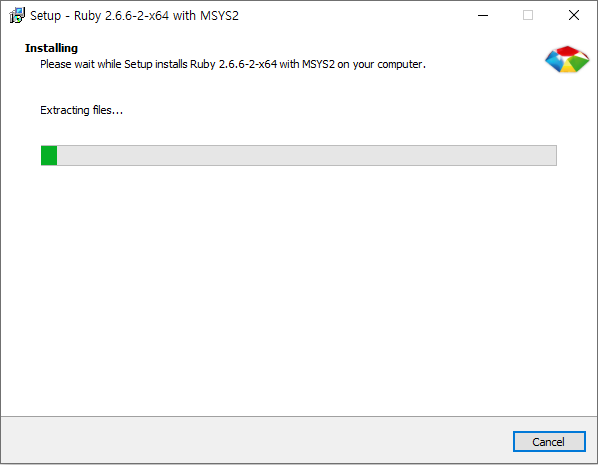
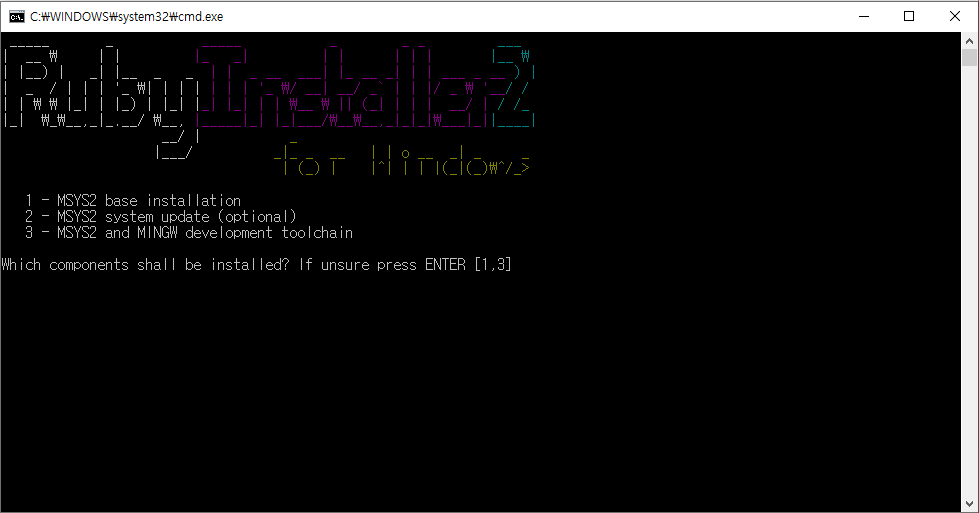
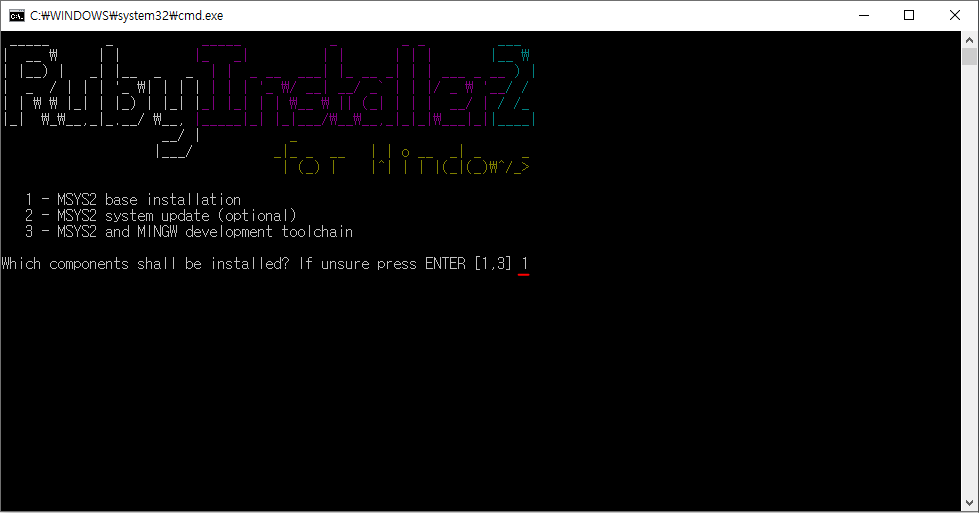
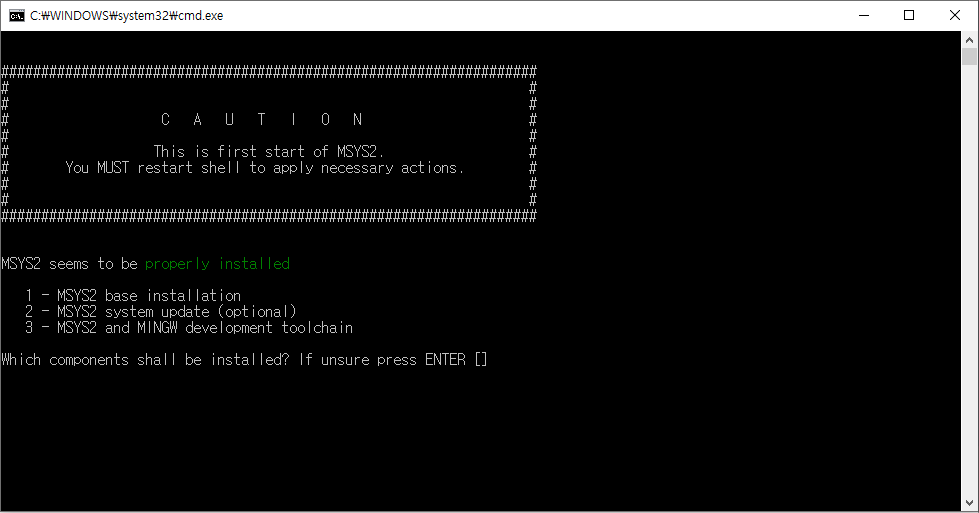
Ⅰ. Ruby 설치
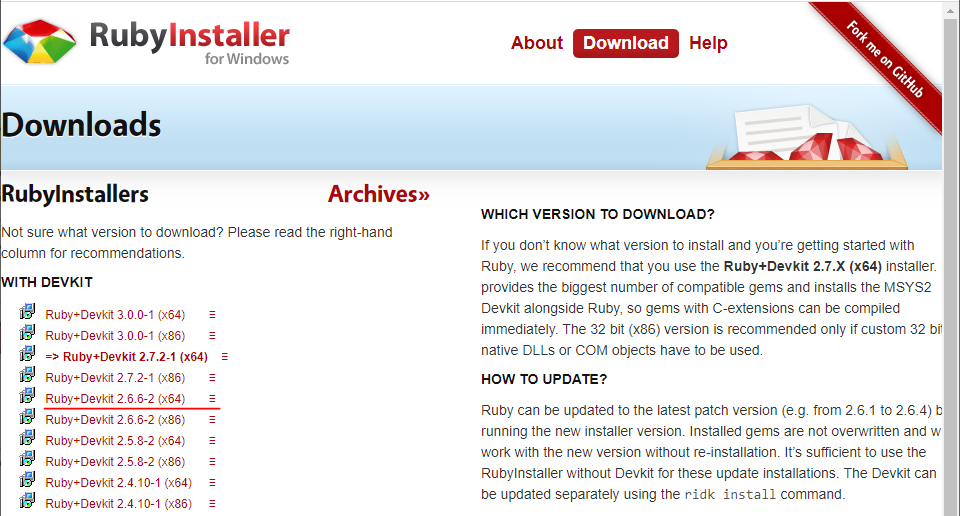
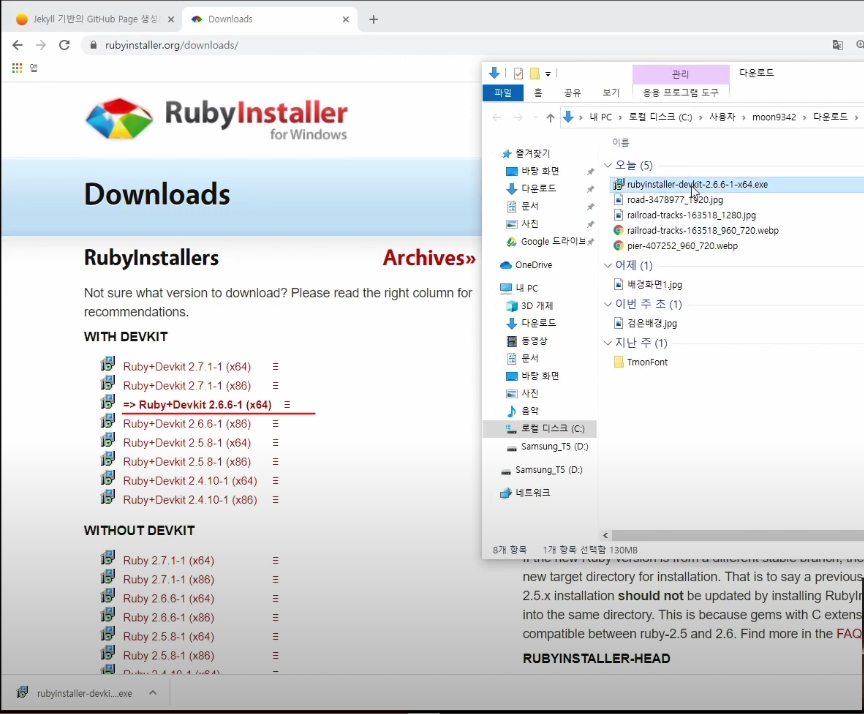
Downloads
Which version to download? If you don’t know what version to install and you’re getting started with Ruby, we recommend that you use the Ruby+Devkit 2.7.X (x64) installer. It provides the biggest number of compatible gems and installs the MSYS2 Devkit
rubyinstaller.org

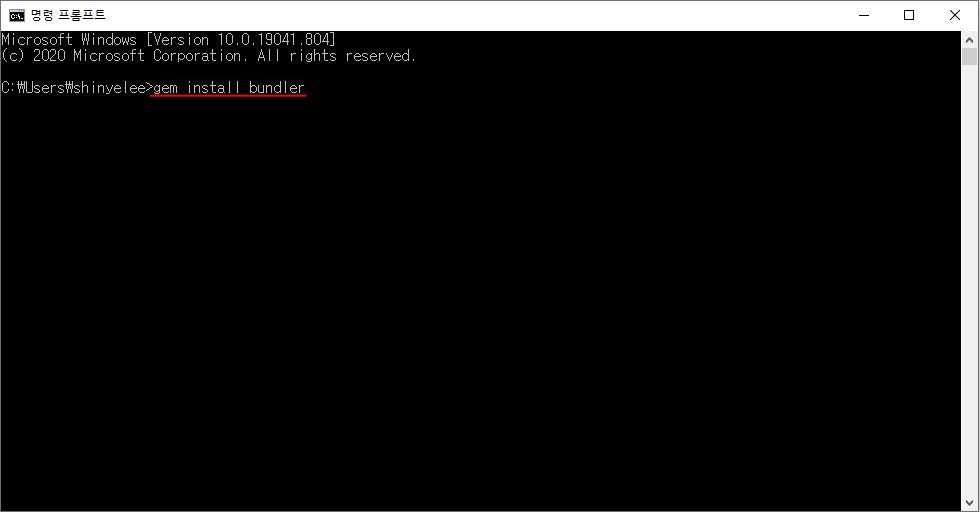
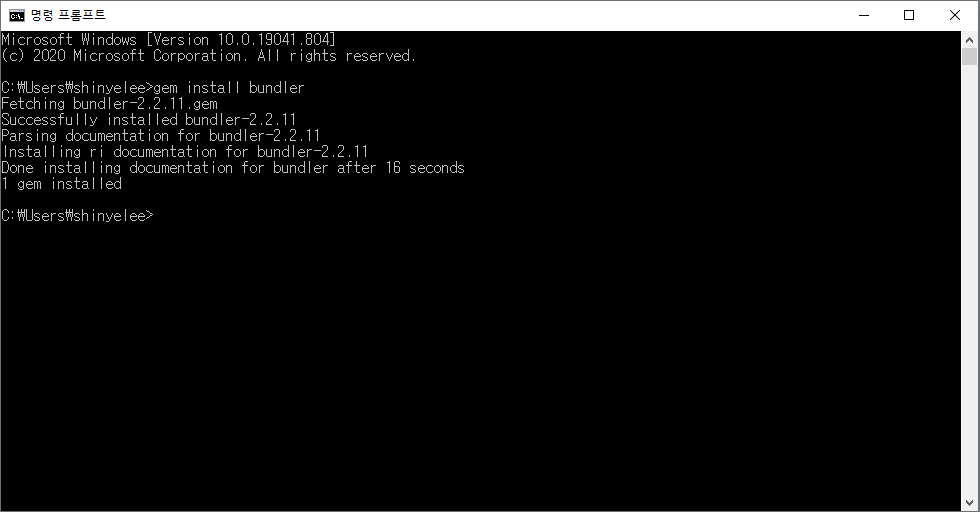
Ⅱ. bundler 설치
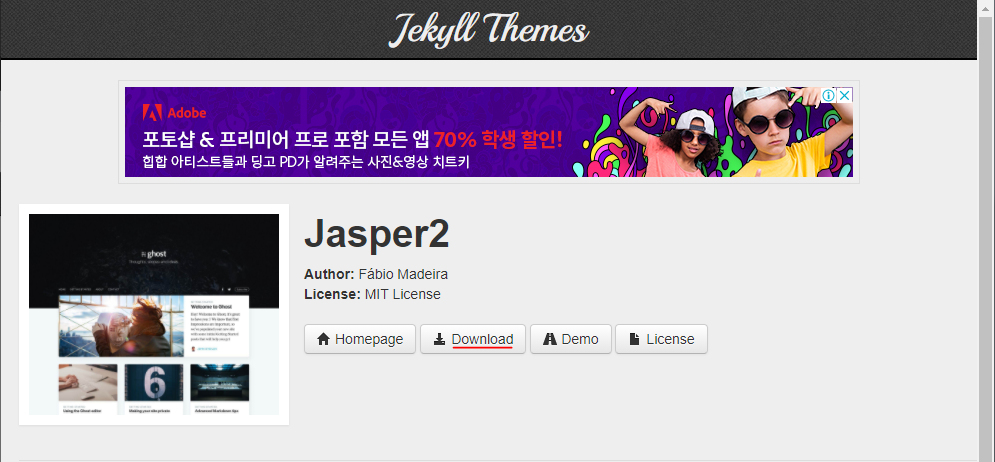
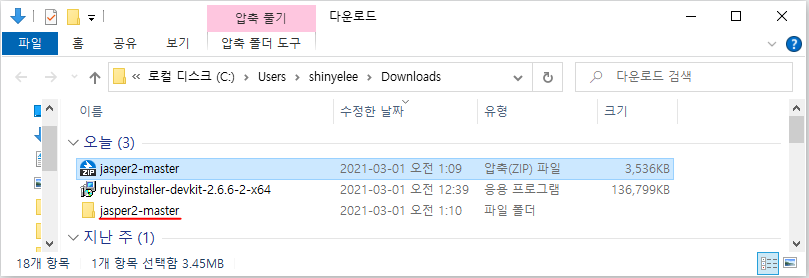
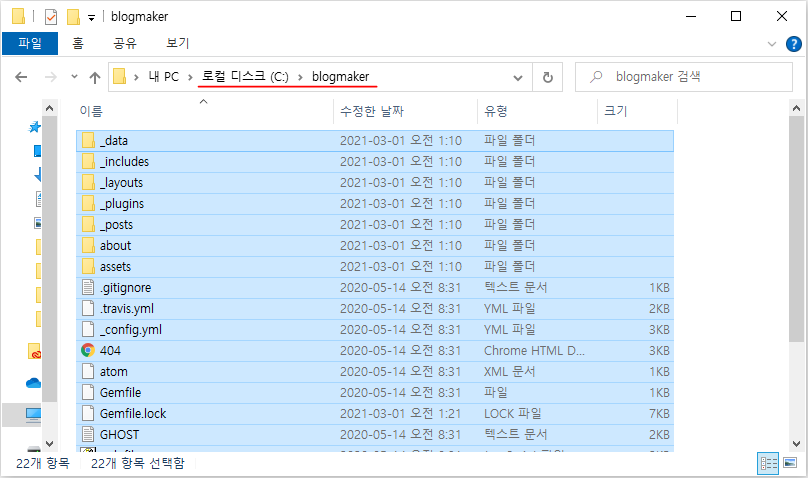
Ⅲ. Jasper2 (Jekyll Themes) 설치
Jasper2
Welcome to Jasper2 Full-featured Jekyll port of Ghost’s default theme Casper v2 Created by Fábio Madeira (Twitter) Features Out of the box support for multiple authors (via _data/authors.yml) Full author information including: picture, bio, website, twi
jekyllthemes.org
Ⅳ. gem 설치
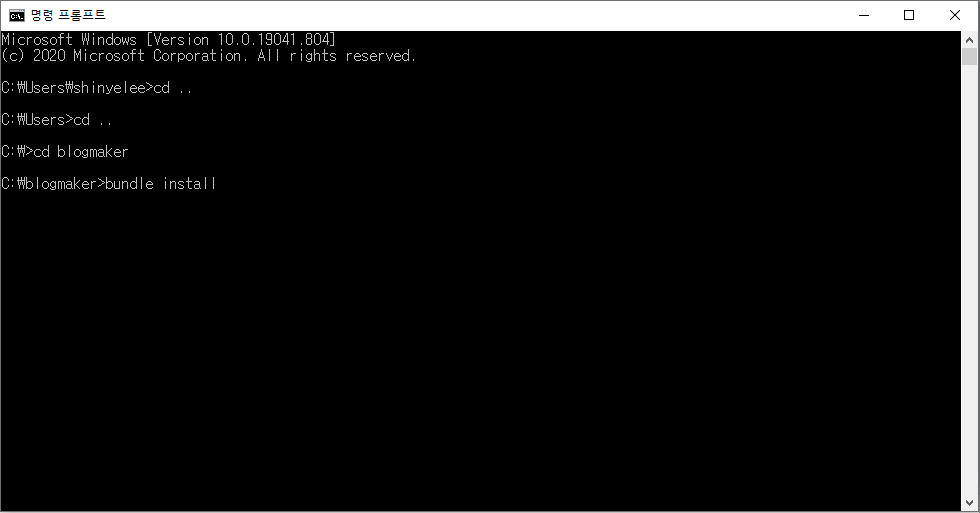
cd ..
cd ..
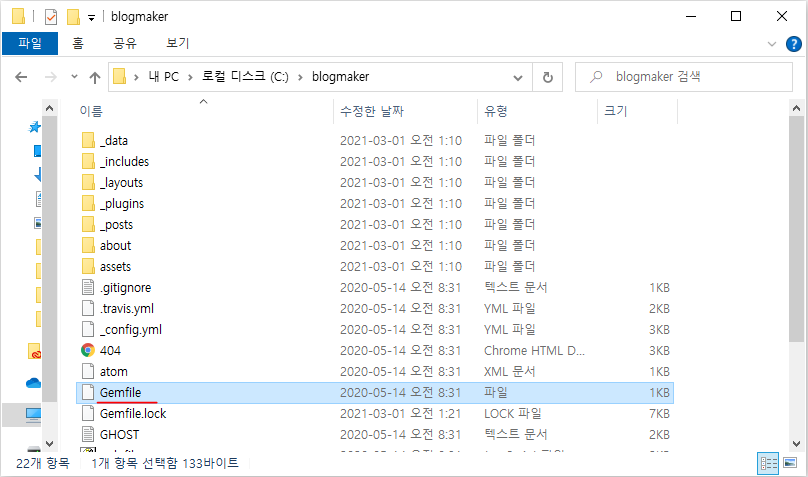
cd blogmaker
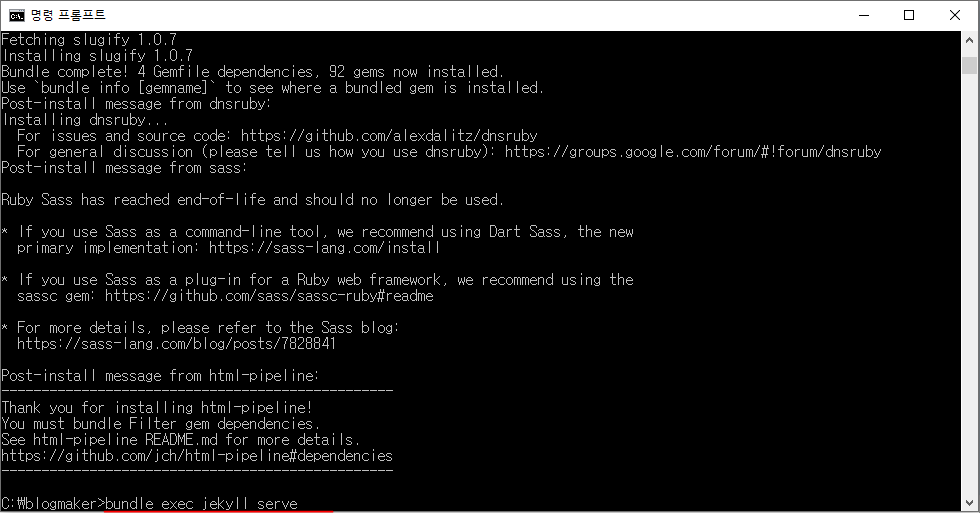
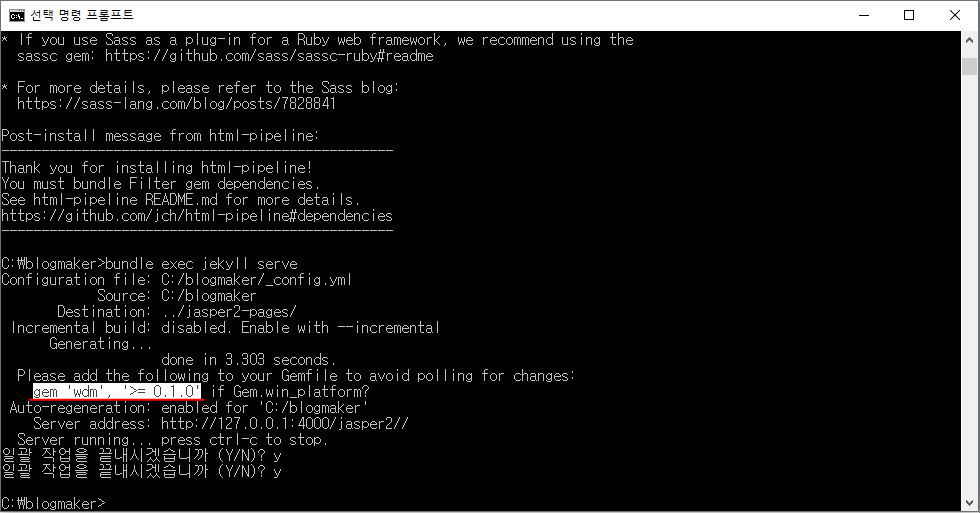
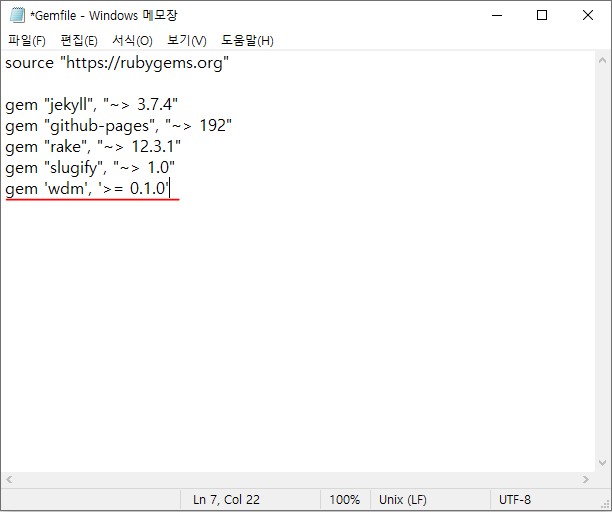
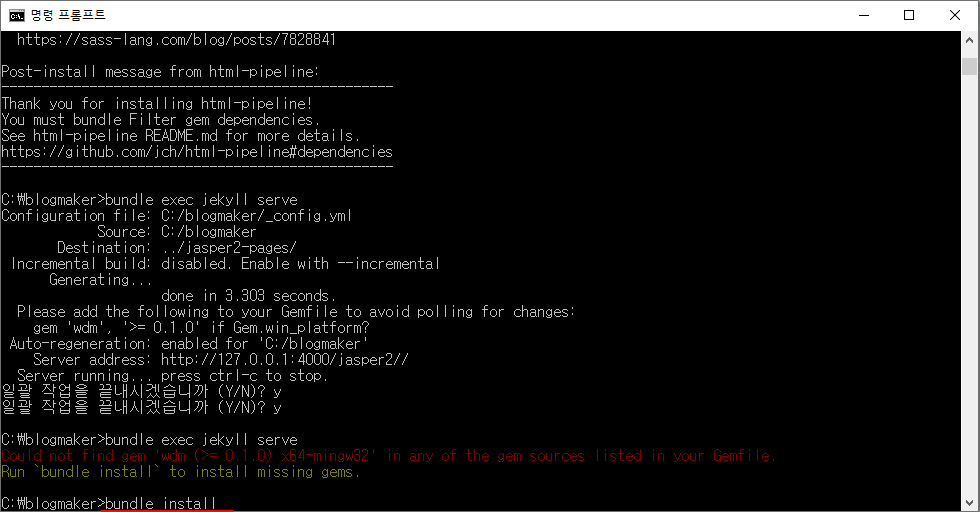
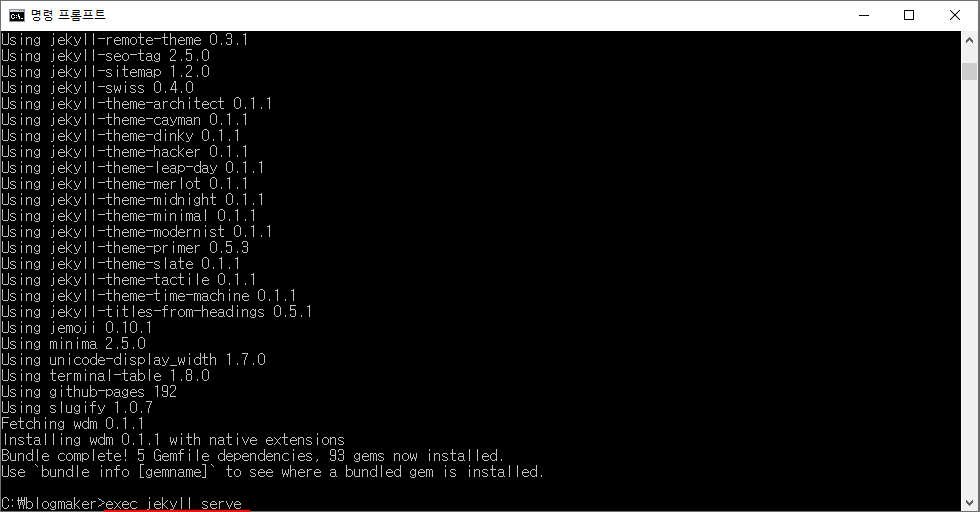
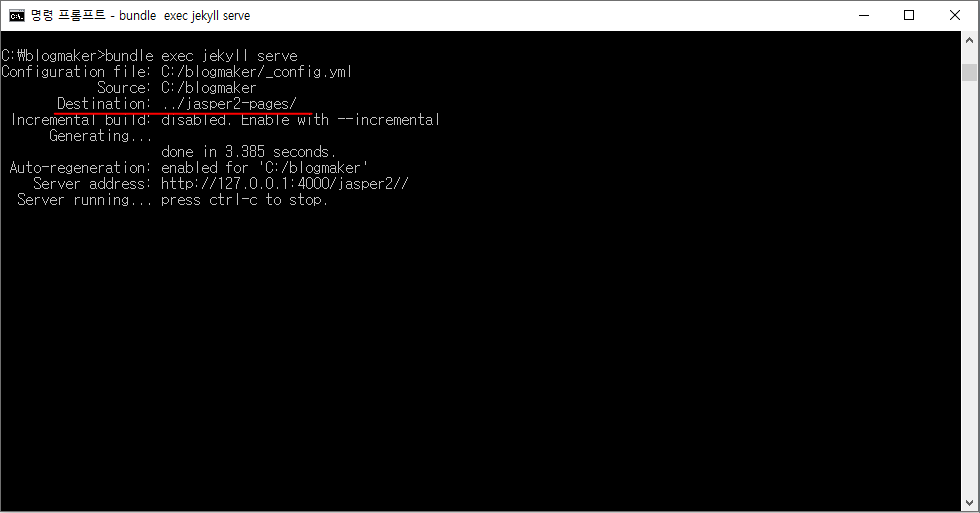
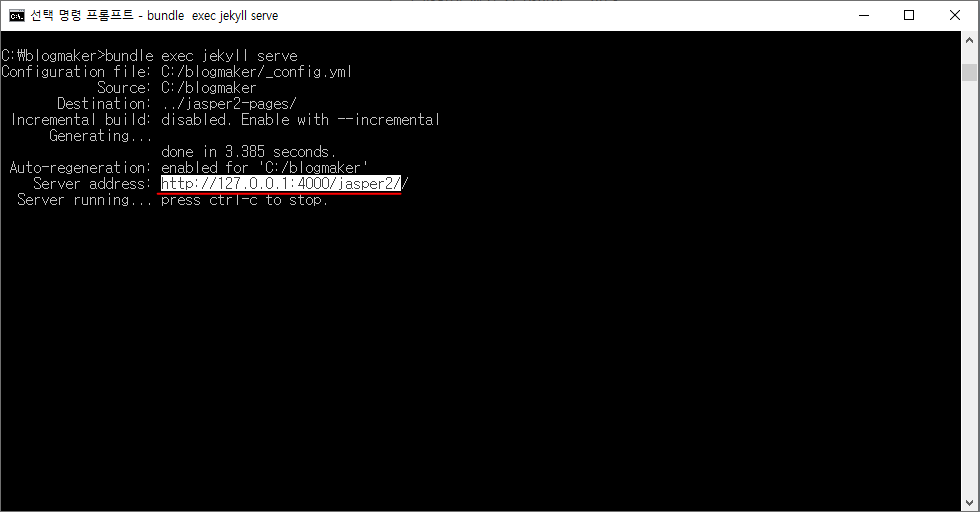
bundle install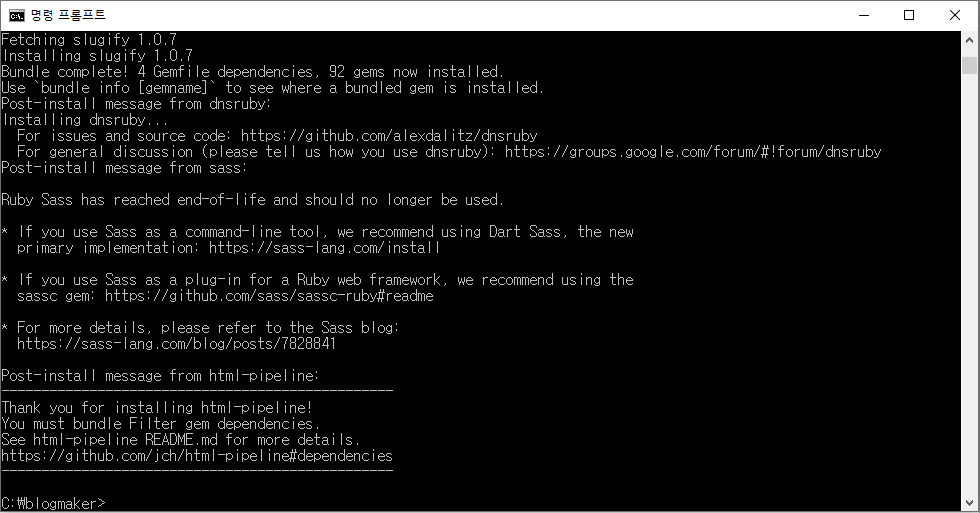


출처 :
Jekyll 기반의 GitHub Page 생성(1) - 환경설정
Jekyll 기반의 GitHub Page 생성은 여러 절로 구성되어 있습니다. Jekyll 기반의 GitHub Page 생성(1) - 환경설정 Jekyll 기반의 GitHub Page 생성(2) - 블로그 수정 & Publishing Jekyll 기반의 GitHub Page 생성(3) - 웹 폰트
moon9342.github.io